
Last updated October 30, 2026
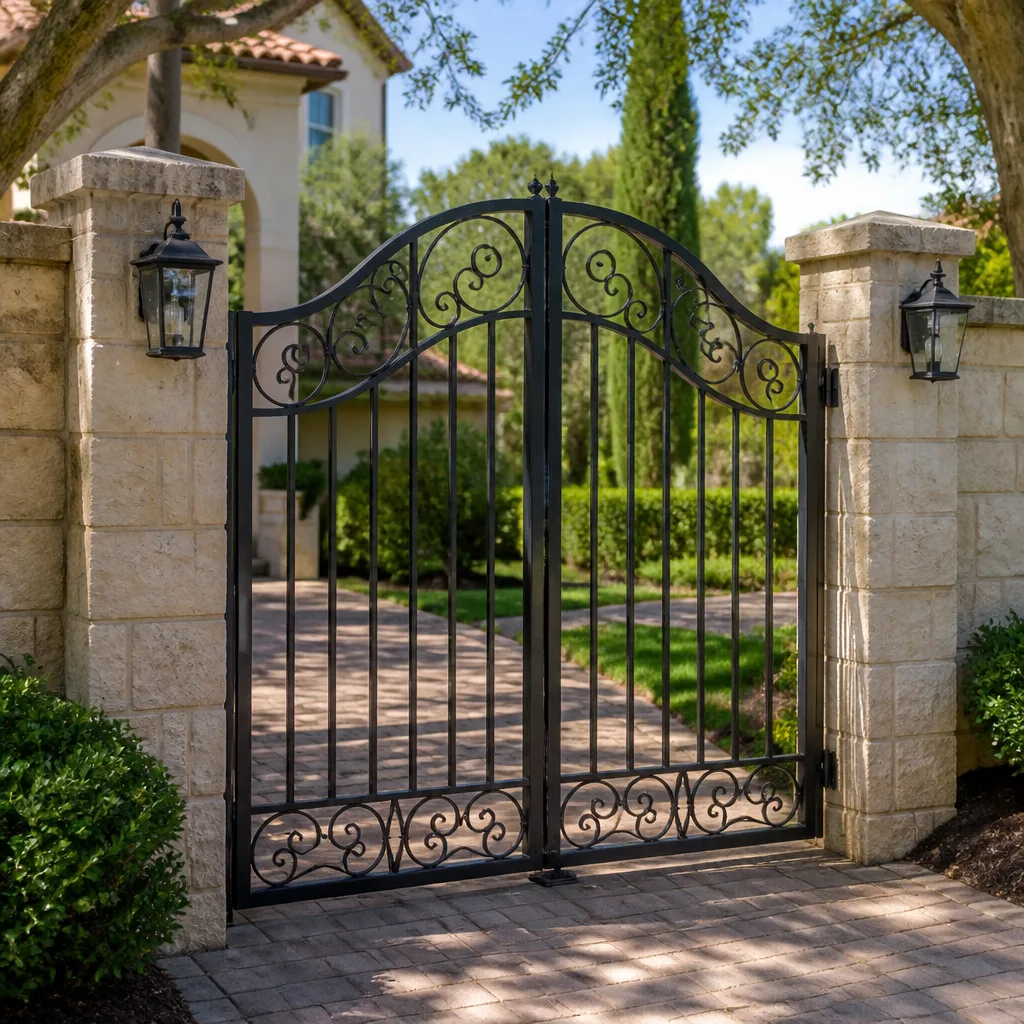 Wrought iron
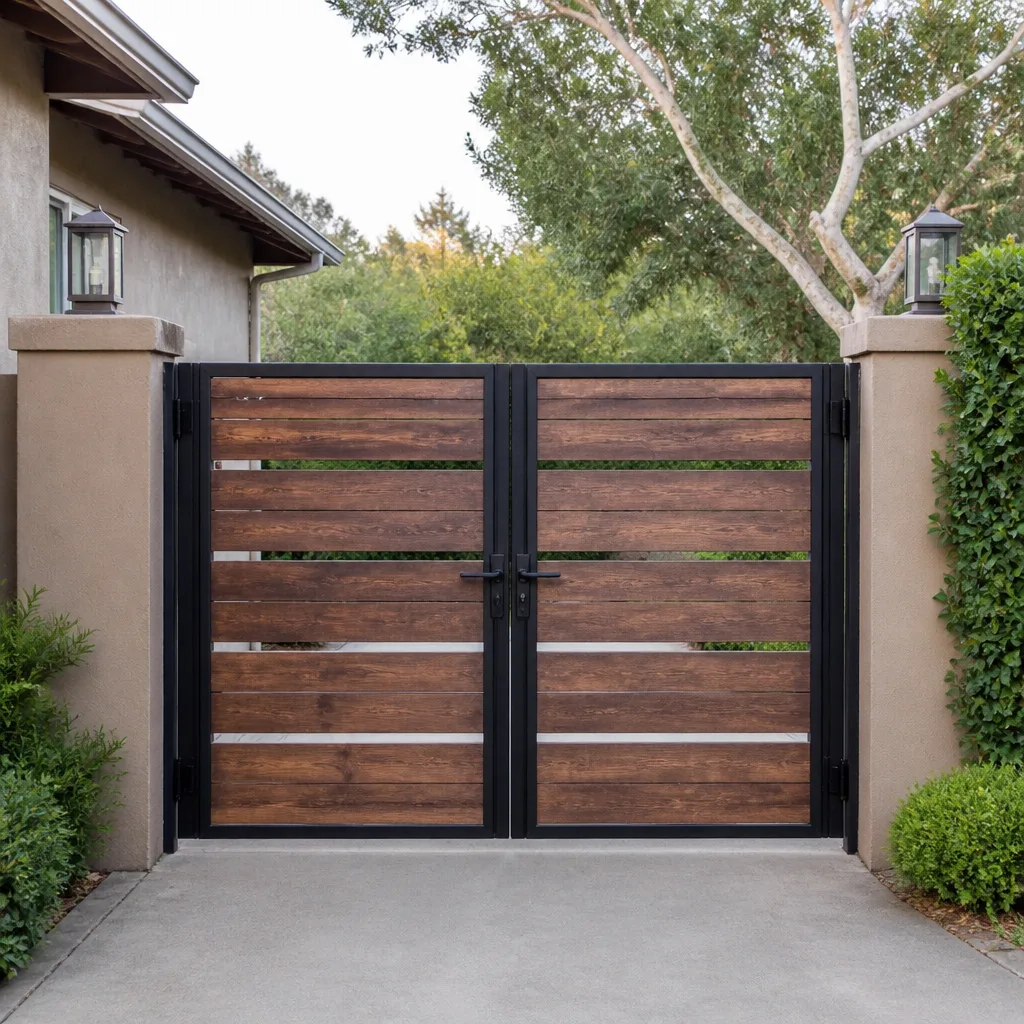 Wood & steel frame
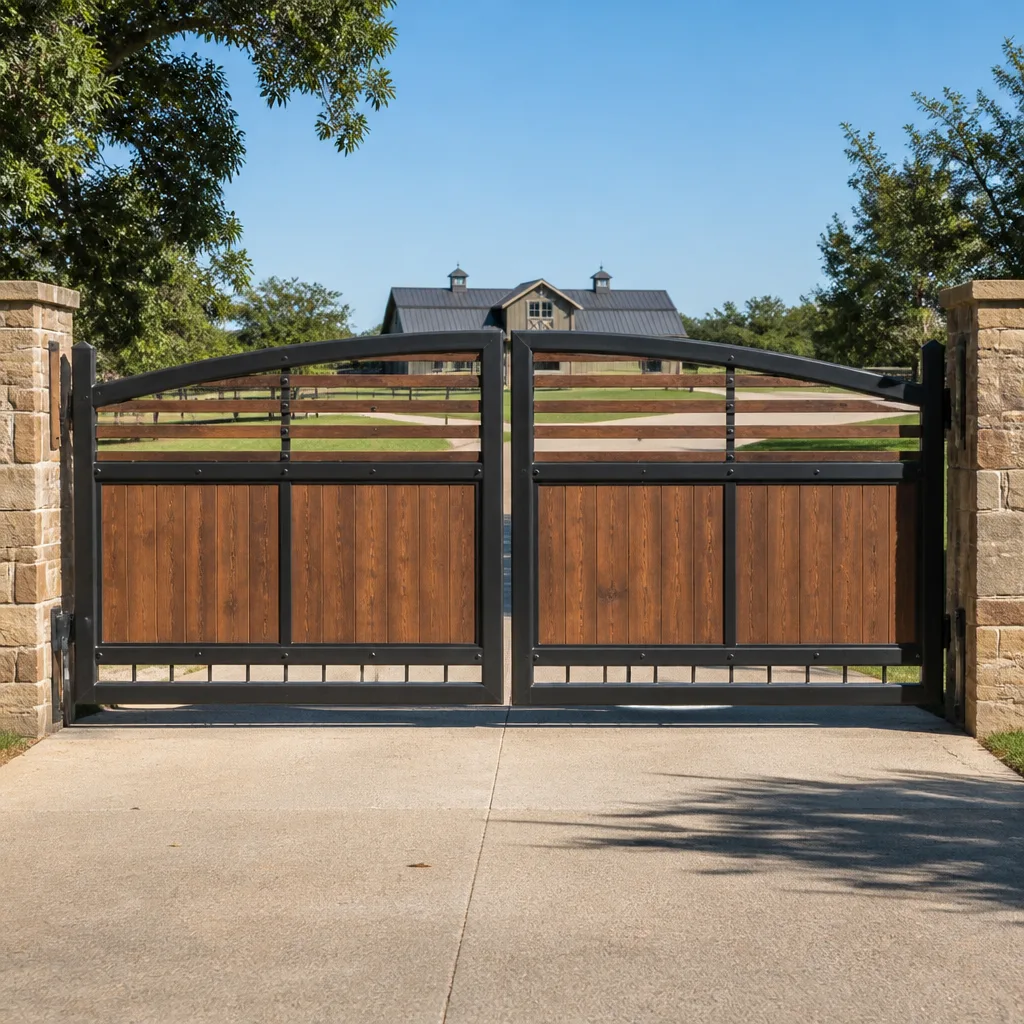 Farm & ranch
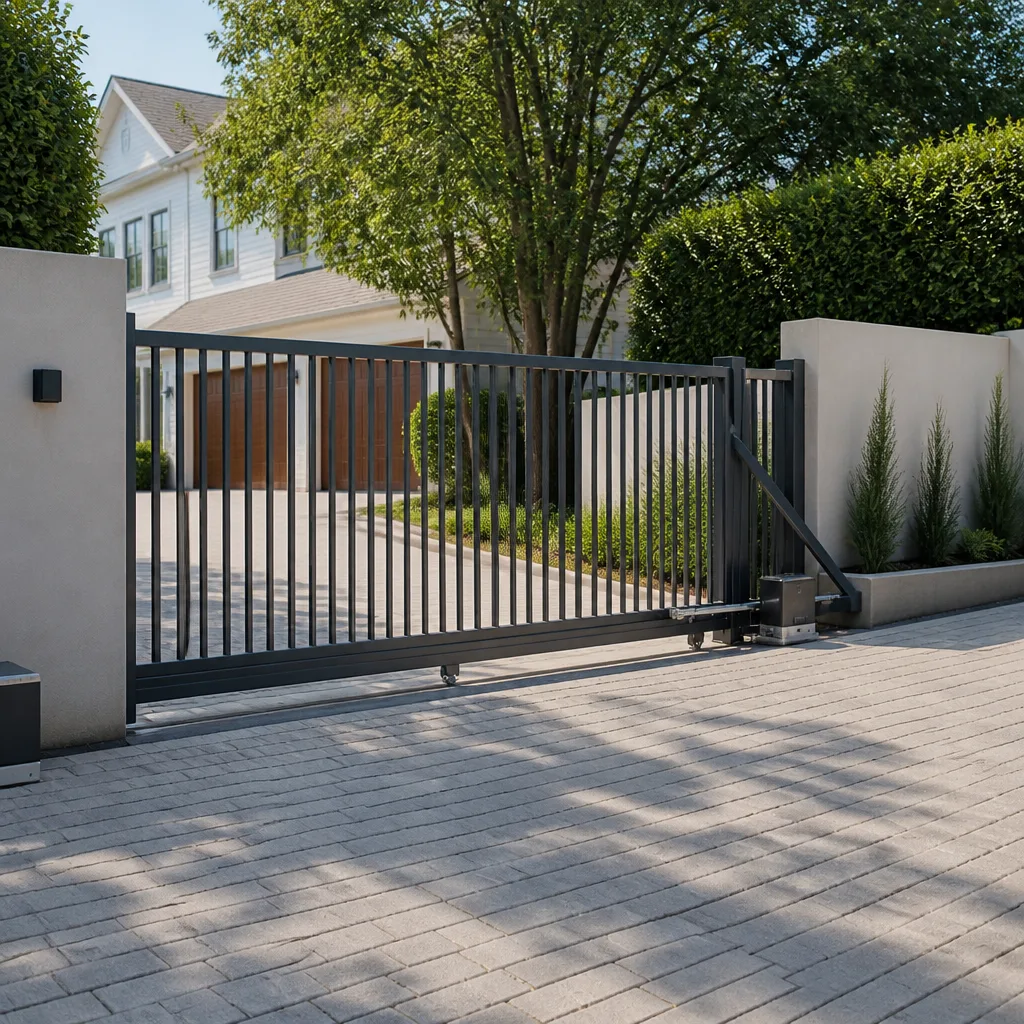 Sliding driveway gates
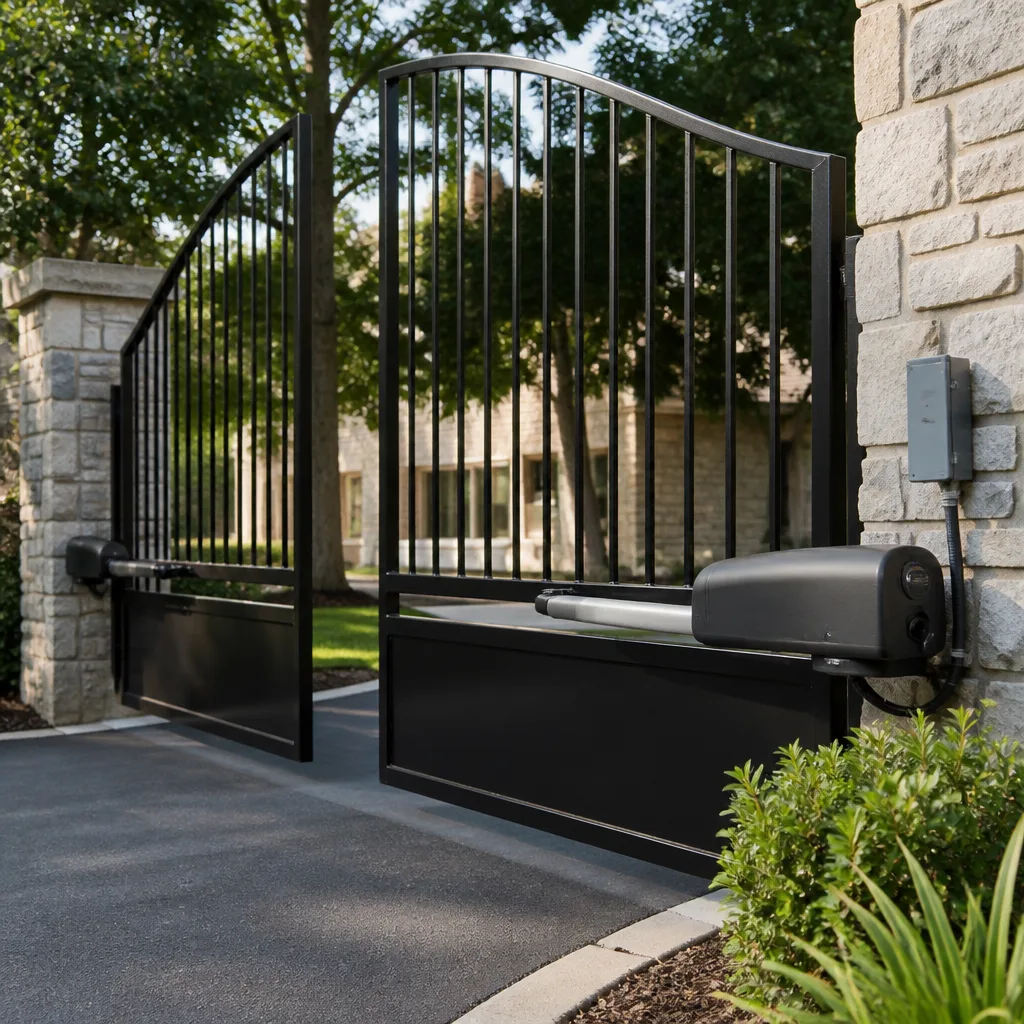 LiftMaster operators
Free on-site gate assessment - hinges, posts, and your LiftMaster or Nice gate operator checked before anything is quoted
The assessment is free and the quote is the invoice.
Get your free estimateDIY vs Professional Gate Repair: The Riverside Homeowner’s Decision Guide
California’s UL 325 standard means a homeowner who disables or bypasses an entrapment protection system, even temporarily during a DIY repair, has potentially created an uninsured liability exposure that a homeowner’s policy won’t cover. That single fact changes the entire conversation about fixing your own gate. In Riverside, where automatic driveway gates are common from Alessandro Heights to Canyon Crest, we’ve watched well-intentioned repairs turn into $2,000 control board replacements because a homeowner tried to save $150 on a service call. This guide walks through exactly which tasks carry mechanical risk, which carry electrical risk, and which carry legal liability under California code, so you can make a decision based on facts rather than frustration.
Styles & brands we work with
Quick Answer
DIY gate repair in Riverside is safe and sensible for mechanical tasks like lubricating hinges, cleaning photo-eye sensors, replacing remote batteries, and tightening loose hardware. It is not advisable for anything involving the operator motor, control board, spring tension, or entrapment protection sensors. If the repair touches 120V or 240V wiring, tensioned springs, or the safety reverse mechanism, call a gate specialist. Riverside Gate Company offers free estimates at (855) 942-4867 for jobs that exceed DIY scope.
Table of Contents
- DIY vs Professional Gate Repair: The Riverside Homeowner’s Decision Guide
- Quick Answer
- Table of Contents
- What Riverside Homeowners Can Safely Fix Themselves
- What Requires a Gate Specialist: Electric, Mechanical, and Code Risk
- The UL 325 Standard and California Entrapment Protection Law
- The True Cost of DIY Gate Repair
- When YouTube Tutorials Help and When They Hurt
- The Middle Path: Prep Work That Reduces Billable Time
- How Riverside Climate Affects Gate Repair Decisions
- Common Mistakes to Avoid
- When to Call a Professional
- Frequently Asked Questions
- The Bottom Line
What Riverside Homeowners Can Safely Fix Themselves
Let’s start with the tasks that genuinely belong in the DIY column. These are the jobs we actually encourage Riverside homeowners to handle themselves. They require no specialized tools, no electrical knowledge, and no risk of injury or code violation. Doing these yourself saves you a service call and keeps your gate running smoothly between professional maintenance visits.
Gate lubrication
Hinges, rollers, and track wheels on any gate in Riverside need regular lubrication because our dry climate and consistent dust load accelerate metal-on-metal wear. Use a white lithium grease or a silicone-based lubricant. Avoid WD-40, which is a solvent and will strip existing lubrication. Apply lubricant to hinge pins, roller bearings, and the track itself, then cycle the gate two or three times to distribute it. This takes 15 minutes and should be done twice a year. In neighborhoods near the Santa Ana River, like La Sierra or Arlington Heights, gates collect more airborne grit, so quarterly lubrication is the smarter interval.
Photo-eye sensor cleaning
If your gate reverses or refuses to close, the photo-eye sensors are the most common culprit. These are the small paired units mounted low on either side of the gate opening. Riverside dust and spider webs routinely block the beam. Wipe each lens with a dry microfiber cloth. Do not use glass cleaner, which leaves a film that refracts the beam. After cleaning, check that the LED indicator on each sensor is steady, not blinking. If cleaning and re-aiming the sensors doesn’t fix the problem, the issue is likely in the wiring or control board, and that’s a job for a professional.
Remote battery replacement
Dead remotes and keypad batteries are simple. Open the remote case, note the battery type, usually a CR2032 or A23 12V, and replace it. For keypads, the battery is typically a 9V. If you replace the battery and the remote still doesn’t work, the problem may be a lost programming code or a failing receiver board, not the battery itself. Our Electric Gate Repair in Riverside page covers how we diagnose receiver issues.
Tightening loose hardware
Gate hardware vibrates loose over time, especially on heavier gates. Check hinge bolts, bracket mounts, and track fasteners with a socket wrench. Use a thread-locking compound on any bolt that keeps loosening. If a hinge is visibly worn or the gate is sagging enough to drag on the ground, tightening bolts won’t fix the underlying issue, and you’ll need a professional to assess whether the hinge or the post itself is failing.
Track and wheel cleaning
For sliding gates, debris builds up in the track and on the wheels. Riverside’s wind, particularly during Santa Ana events, pushes leaves, grit, and small stones into gate tracks. Clear the track with a stiff brush, then check that the gate moves by hand with even resistance. If the gate binds at a specific point, the track may be misaligned or a wheel bearing may be failing, which is beyond the DIY scope.
What Requires a Gate Specialist: Electric, Mechanical, and Code Risk
Here’s the category that separates gate-specific work from general handyman work. These are the jobs where we see the most DIY damage in Riverside. Each one involves either electrical hazard, stored mechanical energy, or code compliance, and each one gets more expensive when a DIY attempt makes the problem worse.
Operator motor replacement or repair
The motor that drives your gate operates on 120V or 240V. Opening the housing exposes live terminals. Beyond the shock hazard, the motor contains a capacitor that stores charge even after power is disconnected. Touching the wrong two points across a charged capacitor can stop your heart. Motor replacement also requires matching torque ratings to gate weight and length. An undersized motor burns out in months. An oversized motor tears the gate off its hinges. We service gate repair in Riverside for motors across LiftMaster, DoorKing, Elite, and other major brands, and the diagnosis always starts with measuring the actual gate load, not just swapping the motor.
Control board diagnostics and replacement
The control board is the brain of the system. When a board fails, the symptoms are often misleading: the gate opens but won’t close, the remote works intermittently, or the gate reverses for no visible reason. Homeowners replace remotes, sensors, and even motors before discovering the board was the problem. Board diagnostics require a multimeter and knowledge of the specific manufacturer’s wiring scheme. Installing the wrong board or wiring it incorrectly can damage every other component on the circuit. This is the single most common DIY escalation we see, and it usually doubles the repair cost.
Spring tension adjustment
Some swing gates use torsion springs to offset gate weight. These springs are under enormous tension. Releasing or adjusting them without proper tools and technique can cause catastrophic injury. Riverside homeowners occasionally attempt to adjust sagging gates by tightening springs, and the result is often a spring that snaps, a gate that slams, or a hand injury. If your gate requires spring adjustment, call a professional, full stop. The labor cost is modest compared to the risk.
Entrapment protection sensor repair or bypass
Your gate’s auto-reverse mechanism and edge sensors exist to prevent the gate from crushing a person, pet, or vehicle. California law requires these systems to meet UL 325 standards. Bypassing a sensor, wiring around a reversing edge, or adjusting the force limit so the gate pushes through obstacles is illegal and creates liability that your insurance will not cover. If a sensor isn’t working and cleaning doesn’t fix it, the problem is in the wiring, the sensor itself, or the board. All three require professional diagnosis.
Gate track realignment or post repair
Sliding gate tracks and swing gate posts shift over time due to soil movement. Riverside’s expansive clay soils, particularly in neighborhoods like Wood Streets and Victoria, expand and contract with moisture changes, causing posts to lean and tracks to misalign. Realigning a gate requires precise measurement and often concrete work. Guessing at alignment causes the gate to bind, strain the motor, and eventually fail.
New gate or operator installation
Full gate installation in Riverside is never a DIY job. It involves concrete footings, post setting, operator mounting, electrical conduit, and final UL 325 compliance testing. We’ve repaired numerous DIY installations that worked for a few months before failing because the footings were undersized or the operator was mismatched to the gate weight.
The UL 325 Standard and California Entrapment Protection Law
This is the part of the DIY conversation that most guides skip, and it’s the part that matters most for Riverside homeowners. UL 325 is a safety standard developed by Underwriters Laboratories that governs automatic gate operators. California has adopted UL 325 requirements into state law, meaning they’re not optional guidelines. They’re mandatory safety requirements.
What UL 325 requires
Every automatic gate operator installed in California must have at least two independent entrapment protection mechanisms. This typically means a combination of photo-eye sensors, reversing edges, and an inherent force-sensing reverse system. The gate must reverse when it encounters the equivalent of a 40-pound object. The operator must include a manual release mechanism that works from both sides of the gate. Warning signs must be posted on both sides of the gate.
What this means for the DIY homeowner
When you open the operator housing and start adjusting force limits or bypassing sensors, you’re not just fiddling with electronics. You’re modifying a safety system that California law requires to function in a specific way. If someone is injured by a gate you modified, your homeowner’s insurance can deny the claim on the grounds that you created a condition that violated code. That’s not theoretical. Insurance adjusters routinely check whether gate safety systems were disabled or modified after an injury claim. The savings from a DIY repair evaporate the moment you face a liability claim without coverage.
Entrapment risk is not the same as garage door risk
Homeowners sometimes equate gate repair with garage door repair. The two are not the same. Garage door springs and cables carry similar tension hazards, but gate systems add a layer of complexity: they operate outdoors in varying conditions, they’re often larger and heavier, and they’re governed by a different set of entrapment standards because they protect property perimeters where children, pets, and vehicles move through continuously. A gate that reverses properly is a safety barrier. The same gate with a bypassed sensor is a hazard that responds to nothing.
If you’re troubleshooting an electric gate issue and you’re not sure whether it involves entrapment protection, the safest move is to call us. Our electric gate repair technicians in Riverside verify UL 325 compliance on every job, not just the ones where a DIY attempt went wrong.
The True Cost of DIY Gate Repair
The honest math on DIY gate repair includes more than the price of parts. Here’s a realistic breakdown for a common Riverside scenario: a sliding gate that stopped responding to the remote. We’ll compare a genuine DIY repair path against calling a professional.
Scenario: sliding gate won’t respond to remote
You’ve confirmed the remote battery is good and the photo-eyes are clean. Now you’re troubleshooting the receiver, the control board, or the motor. Here’s what the DIY path actually costs:
- Multimeter: $30 to $80 if you don’t already own one
- Replacement receiver board (if that’s the issue): $85 to $200 depending on brand, LiftMaster and DoorKing boards run higher than Mighty Mule
- Replacement control board (if the receiver isn’t the issue): $250 to $600 for most residential operators
- Your time: 4 to 8 hours of diagnosis, part research, ordering, waiting for shipping, and installation
- Risk of misdiagnosis: You buy a $600 control board, install it, and the gate still doesn’t work because the actual issue was a failed capacitor in the motor. Now you need a motor too.
The professional path for the same scenario:
- Diagnostic service call: A gate specialist tests the receiver, board, motor, and sensors with a multimeter in under an hour.
- Precise part replacement: The right part is replaced the first time, and replacement parts are often available same-day from stock we carry for common brands.
- Labor cost: Diagnostic fee plus installation labor, typically less than the cost of a misdiagnosed control board.
The break-even point is squarely at the control board. When the problem is a $20 sensor or a $5 remote battery, DIY wins. When the problem could be anything from a limit switch to a control board to a motor winding, DIY is a gamble where the house edge belongs to the parts supplier. We’ve seen Riverside homeowners spend $800 on a DIY repair that a $149 diagnostic call would have resolved in an hour. The skill isn’t the issue. The diagnostic certainty is.
When DIY is genuinely cheaper
For lubrication, sensor cleaning, battery replacement, and hardware tightening, DIY is almost always the right financial call. You’re not reducing risk by calling a professional for those tasks. You’re just spending money you don’t need to spend. The line is drawn where diagnostics and electrical work begin. Before that line, DIY makes sense. Beyond it, the math skews hard toward a professional.
When YouTube Tutorials Help and When They Hurt
There’s a lot of genuinely useful gate repair content online—see our more guides & resources—and there’s a lot of content that will lead a Riverside homeowner straight into a liability trap. Here’s how to tell the difference.
Tutorials that help
Videos covering basic maintenance are reliable. Lubrication walkthroughs, sensor-cleaning demonstrations, remote programming steps, and keypad code resets are low-risk and easy to verify. If the task involves no electricity, no tensioned parts, and no safety systems, a YouTube video is likely fine as a guide. Look for videos specific to your operator brand. A Mighty Mule programming video won’t help you with a DoorKing control board. The brands have different wiring schemes, different menu systems, and different troubleshooting protocols.
Tutorials that hurt
The danger shows up when a video claims to teach “control board repair” or “force adjustment” or “sensor bypass.” These videos often come from other regions where code requirements differ, or from hobbyists who don’t carry liability for your outcome. Even worse, some videos demonstrate bypassing entrapment protection entirely, which is illegal under California law and creates the liability exposure we described above. A residential swing gate video filmed in Texas on a Ghost Controls system may show settings and wiring that don’t apply to your LiftMaster unit in Riverside. The operator in the video may be an older model with different terminals and different safety requirements.
The brand-specific problem
One of the reasons we service nine different gate automation brands is that each one behaves differently. A LiftMaster control board doesn’t wire like an Elite control board. A DoorKing loop detector behaves differently from a Viking loop detector. We work on the brand you have, whether it’s an entry-level Mighty Mule or a commercial-grade FAAC. YouTube tutorials rarely account for this variation. When you’re looking at a video that shows a different brand or a different generation of the same brand, the value of that video approaches zero.
The Middle Path: Prep Work That Reduces Billable Time
There’s a sensible middle ground between full DIY and calling a professional cold. Riverside homeowners can reduce the cost of a professional repair by handling preparatory tasks that carry no safety or code risk. Here’s what we recommend.
Step 1: Document the symptoms
Before you call, note exactly what the gate is doing. Does it work from the remote but not the keypad? Does it open but not close? Does it stop halfway? Does it reverse immediately after closing? Each symptom points to a different component, and documenting it accurately saves diagnostic time on site.
Step 2: Check the basics
Replace remote batteries, check the keypad, clean the photo-eyes, and confirm the operator has power. These are the DIY tasks we described above. If the problem persists after the basics, you’ve already eliminated the most common causes and saved the technician 15 minutes of diagnosis.
Step 3: Photograph the operator and control board
Take clear photos of the operator housing, the control board, and the gate itself. Include the brand name and model number on the operator. This helps us identify the exact unit before arriving and ensures we bring the right parts on the first visit.
Step 4: Clear the gate path
Move vehicles, potted plants, and anything else out of the gate’s path. This is simple but it saves time and lets the technician test the gate through its full travel immediately.
Step 5: Note any recent changes
Landscaping work, new fencing, utility work near the driveway, pest activity, or recent storms can all affect gate performance. Riverside’s recent rains shift soil and affect gate alignment more than most homeowners expect. If you’ve noticed the gate behaving differently since a specific event, tell us. That context shortens diagnosis.
These five steps take 20 minutes and can shave real time off a service call. They don’t require touching anything with electrical or mechanical risk. They’re the highest-leverage prep work a homeowner can do.
How Riverside Climate Affects Gate Repair Decisions
Riverside’s climate shapes gate repair in ways that generic online guides never mention. Our hot summers, Santa Ana winds, and expanding clay soils create specific failure patterns that affect both DIY decisions and professional repairs.
Heat and electronic components
Riverside summers routinely exceed 100 degrees, and operator housings sit in direct sun for hours. Control boards and capacitors degrade faster in sustained heat. A control board that lasts 15 years in a coastal climate might fail in 8 years in Riverside. This matters for the DIY calculation because a failing board in a hot operator housing is more likely to be the root cause of intermittent problems than the same symptoms would suggest in a cooler climate.
Dust and sensor failures
The dry, dusty conditions across Riverside mean photo-eye sensors and limit switches collect grime faster than they would elsewhere. In neighborhoods with significant landscaping, like Orangecrest or Mission Grove, irrigation overspray combines with dust to create a film on sensor lenses that’s harder to clean than plain dust. The good news: sensor cleaning remains a safe DIY task. The bad news: if cleaning doesn’t fix the problem, the dust may have worked its way into the sensor housing or the wiring connections, which is a professional repair.
Expansive soil and gate alignment
Riverside sits on several soil types, including some with high clay content that expands when wet and contracts when dry. The cycle of winter rain and summer drought moves gate posts. When a gate starts dragging or binding after a wet winter, the cause is usually post movement, not a gate problem. DIY fixes like track shimming or hinge tightening address the symptom while the post continues to move. A professional fix involves resetting the post or realigning the track, and it’s a job that requires concrete work and patience. We see this pattern most dramatically in older Riverside neighborhoods with mature trees and established foundations, where soil moisture varies dramatically between irrigated and non-irrigated zones.
Common Mistakes to Avoid
- Bypassing a photo-eye or reversing edge to “test” the gate. This is illegal under California’s UL 325 requirements and creates liability your insurance won’t cover. If a sensor is faulty, replace it or call a professional, never bypass it.
- Adjusting force limits without understanding the consequences. The force setting exists to prevent entrapment. Turning it up to overcome a binding gate masks the real problem and makes the gate dangerous. Fix the binding; don’t overpower it.
- Replacing a control board without confirming the diagnosis. Control boards are expensive, and the symptoms of board failure overlap with motor capacitor failure, sensor wiring issues, and receiver problems. We see this misdiagnosis in Riverside regularly, and it doesn’t save money.
- Using the wrong lubricant. WD-40 strips existing lubrication. Household oils attract dust. The right product is white lithium grease or silicone spray, and the difference matters in Riverside’s dusty conditions.
- Ignoring gate weight when replacing an operator. A residential operator isn’t sized for a 600-pound ornamental iron gate. Installing an undersized motor means replacing it again within a year or two. This is one of the most common failures in DIY gate operator swaps.
- Watching a tutorial for a different brand and following it. A Ghost Controls wiring video won’t guide you through a LiftMaster board, and a DoorKing repair tutorial won’t apply to a BFT operator. The brand matters more than the task.
- Waiting until total failure to call. A gate that reverses erratically, moves slowly, or makes a new grinding noise is telling you something. Catching these issues early prevents a small repair from becoming a full operator replacement.
When to Call a Professional
Call a gate specialist when the problem involves the operator motor, the control board, spring tension, entrapment protection sensors, track misalignment, or anything that requires a multimeter to diagnose. These are the boundaries where DIY risk exceeds any reasonable savings, and where California code compliance matters. Riverside Gate Company offers free estimates in Riverside. If you’re not sure whether your problem falls in the DIY or professional column, call (855) 942-4867 and describe the symptoms. We’ll tell you honestly whether it’s a task you can handle yourself or a job that needs a technician. There’s no charge for that conversation, and our Riverside Gate Company home page lists the full scope of what we handle.
Frequently Asked Questions
Professional gate repair in Riverside typically ranges from $149 to $400 for common repairs like sensor replacement, limit switch adjustment, or receiver repair, and from $400 to $1,200 for control board replacement or motor work, depending on the brand and model. See our Gate Repair Cost Breakdown: The Riverside Homeowner’s Reference for 2026 for detailed pricing. Diagnostic service calls in Riverside usually run between $75 and $150, often credited toward the repair if you proceed. Call (855) 942-4867 for an exact quote, estimates are free and the price is agreed before any work starts.
You can safely handle remote battery replacement, photo-eye cleaning, and basic lubrication on your own. Anything involving the motor, control board, capacitors, or entrapment sensors should go to a professional. The risk isn’t just electrical hazard; it’s the legal liability of modifying a safety system governed by California’s UL 325 requirements.
We service nine major gate automation brands including LiftMaster, DoorKing, Elite, Mighty Mule, FAAC, BFT, Linear, Viking, and Ghost Controls. That range covers everything from entry-level DIY residential systems to commercial operators, which means we work on the brand you already have.
Most residential gate repairs in Riverside are completed in a single visit lasting one to two hours. Sensor replacements, remote programming, and limit switch adjustments are quick jobs. Control board replacements may take longer if the board needs to be ordered for an uncommon brand, though we carry stock for the most common brands we service.
Electrical work for a new gate operator may require a permit depending on the scope, and the installation must meet UL 325 entrapment protection standards regardless of permit requirements. A professional gate installer handles this compliance work as part of the job. Riverside Gate Company handles the full installation process, including the electrical run and safety edge setup.
If your gate won’t close fully, first clean the photo-eye sensors and confirm nothing is blocking the beam. Check that the track or swing path is clear of debris. If the gate still won’t close, the problem is likely in the limit switch, the sensor wiring, or the control board, all of which are professional repairs. Call (855) 942-4867 and describe the exact symptom, and we’ll tell you what you’re likely dealing with.
The Bottom Line
The DIY vs. professional gate repair decision in Riverside comes down to three boundaries: electrical hazard, stored mechanical energy, and code compliance. On one side of those boundaries lie lubrication, sensor cleaning, battery swaps, and hardware tightening. Those are your tasks. On the other side lie motors, control boards, springs, and entrapment protection systems. Those are ours. Riverside’s heat, dust, and shifting soils make certain failures more common here than elsewhere, and they make accurate diagnosis harder without the right equipment. If your gate needs work and you’re not certain which category the job falls into, call (855) 942-4867 and we’ll help you figure it out. The estimate is free, the advice is honest, and the price is agreed before any work starts.
Written by the team at Riverside Gate Company, serving Riverside since 2011.
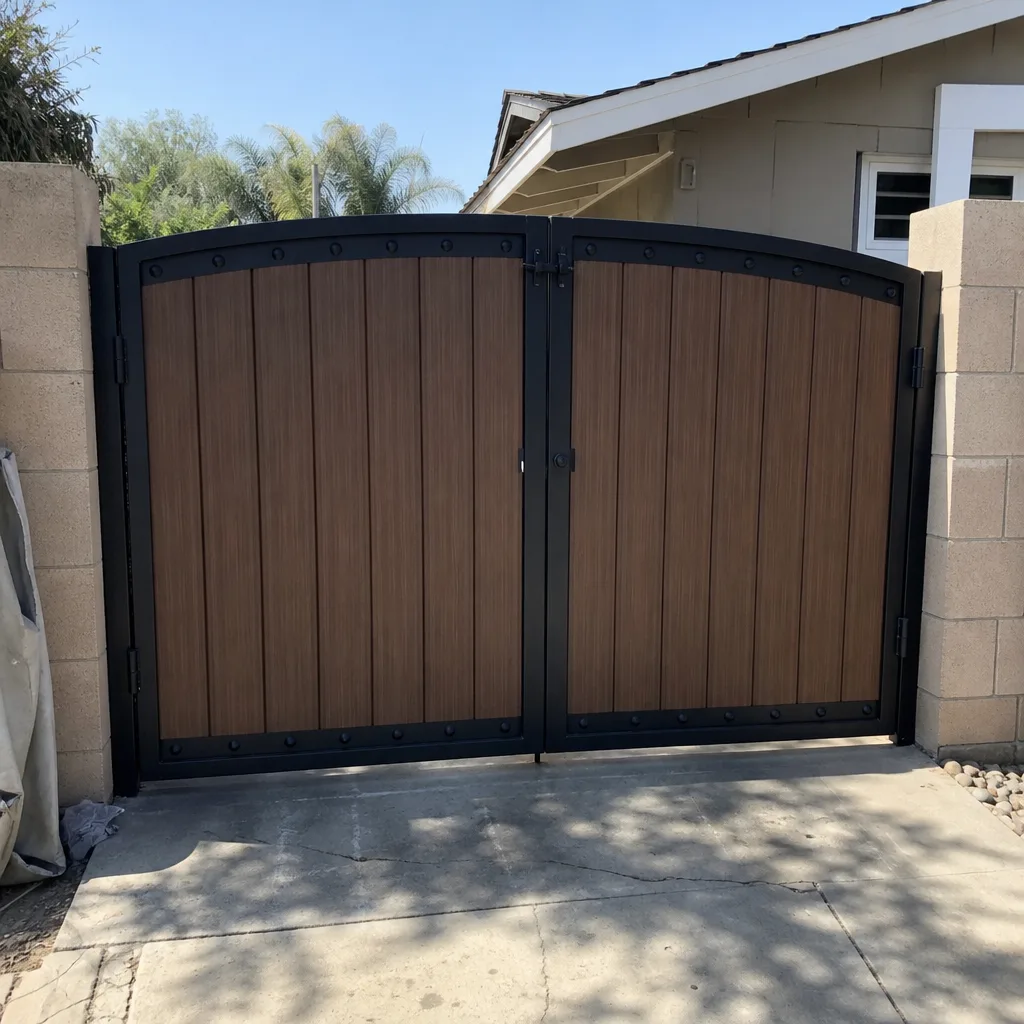
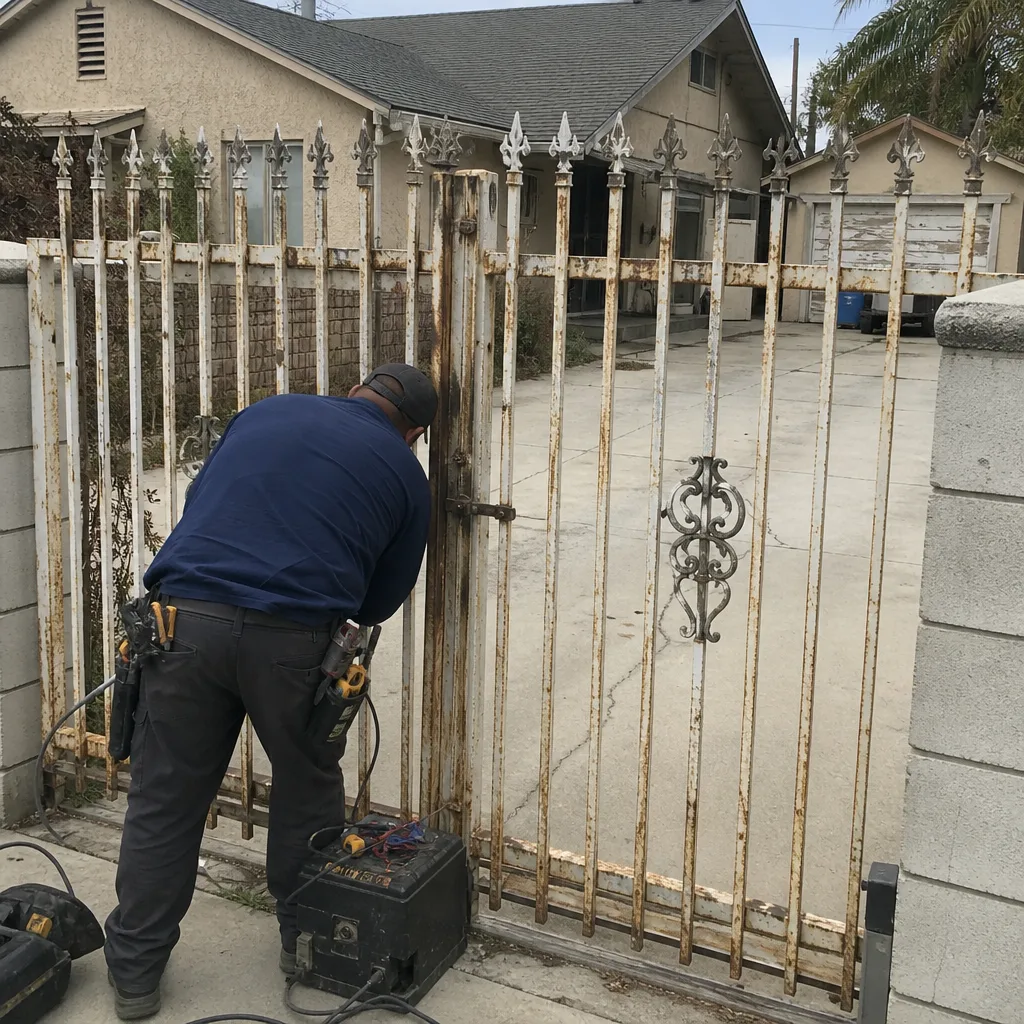
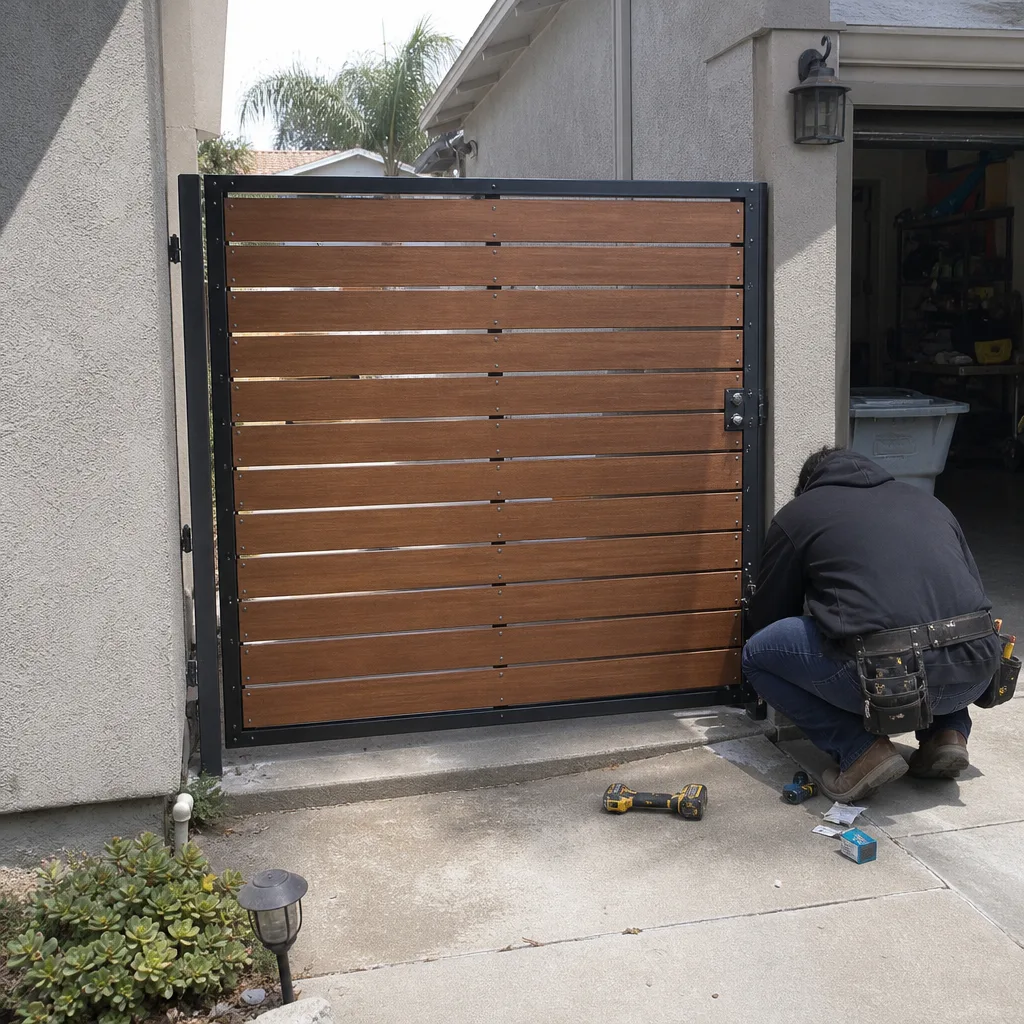
See the difference
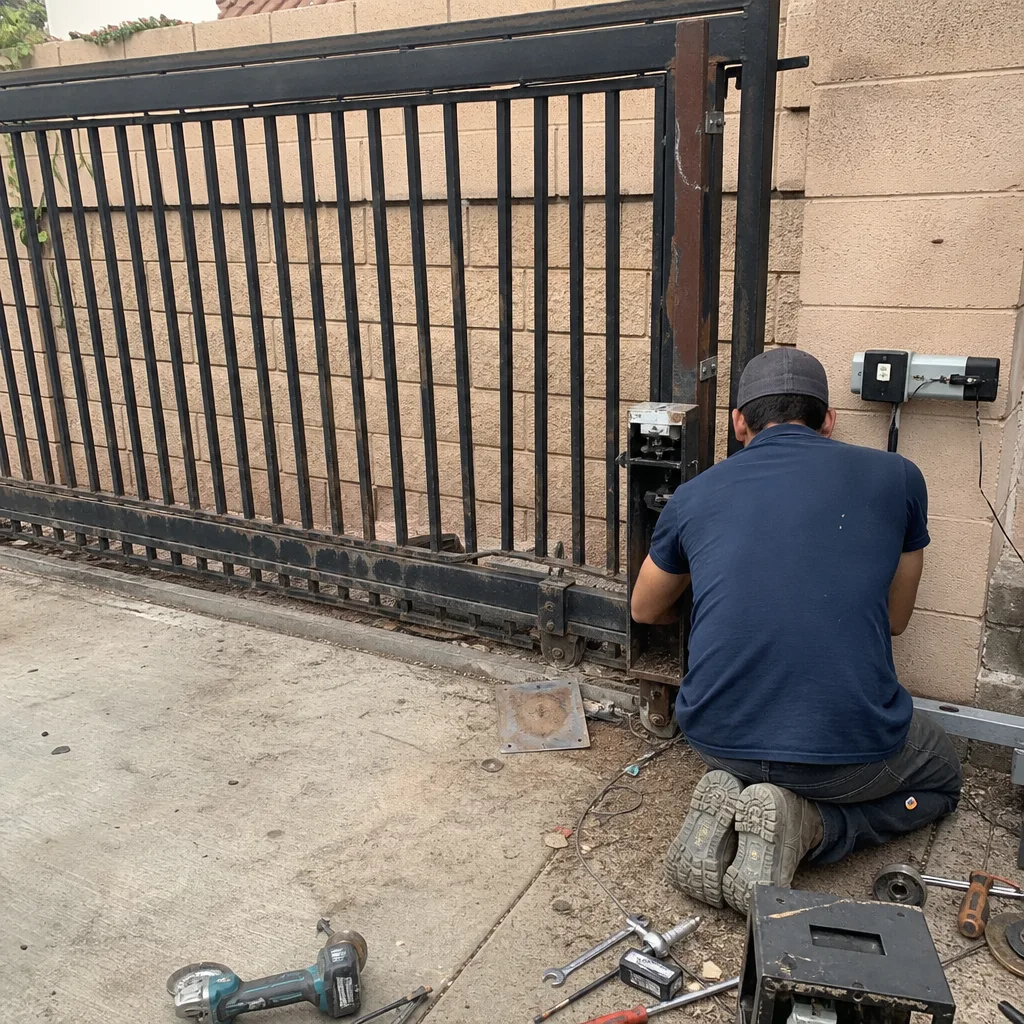 Before
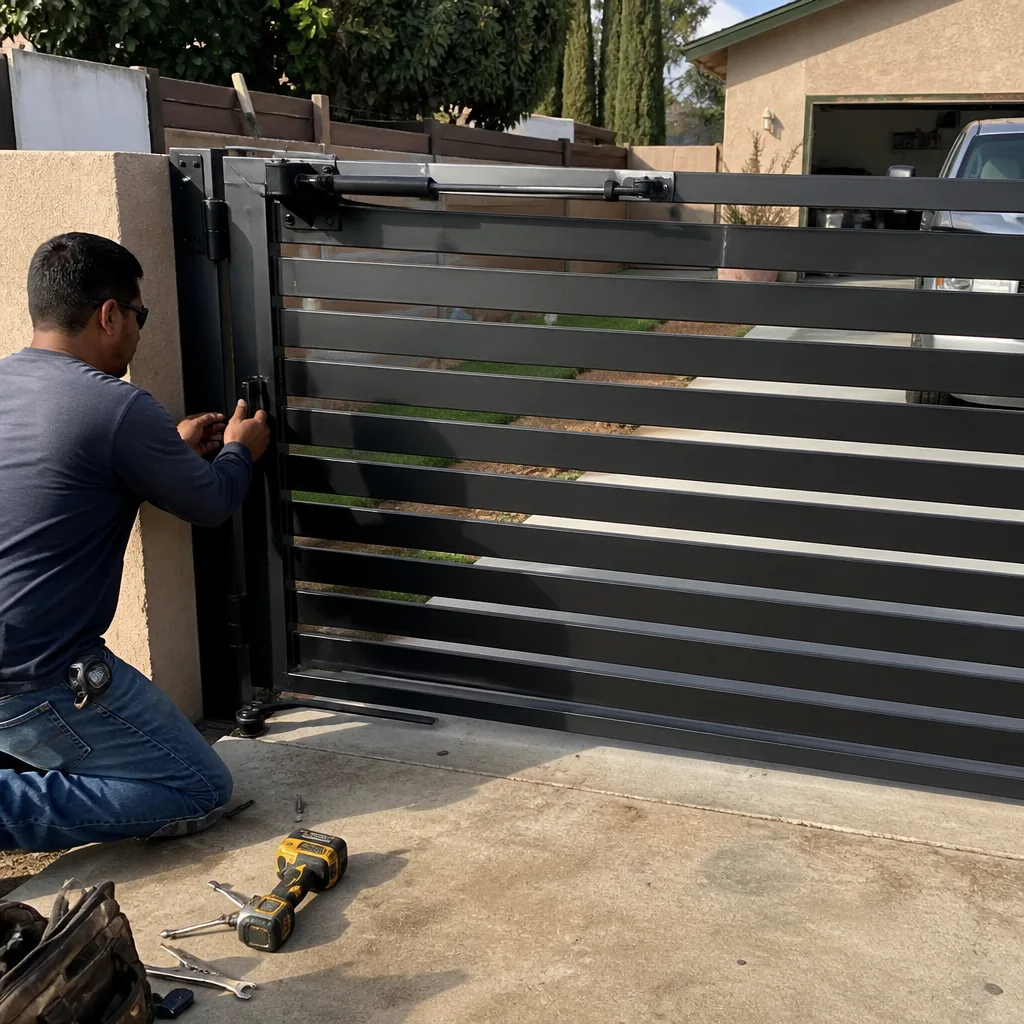 After
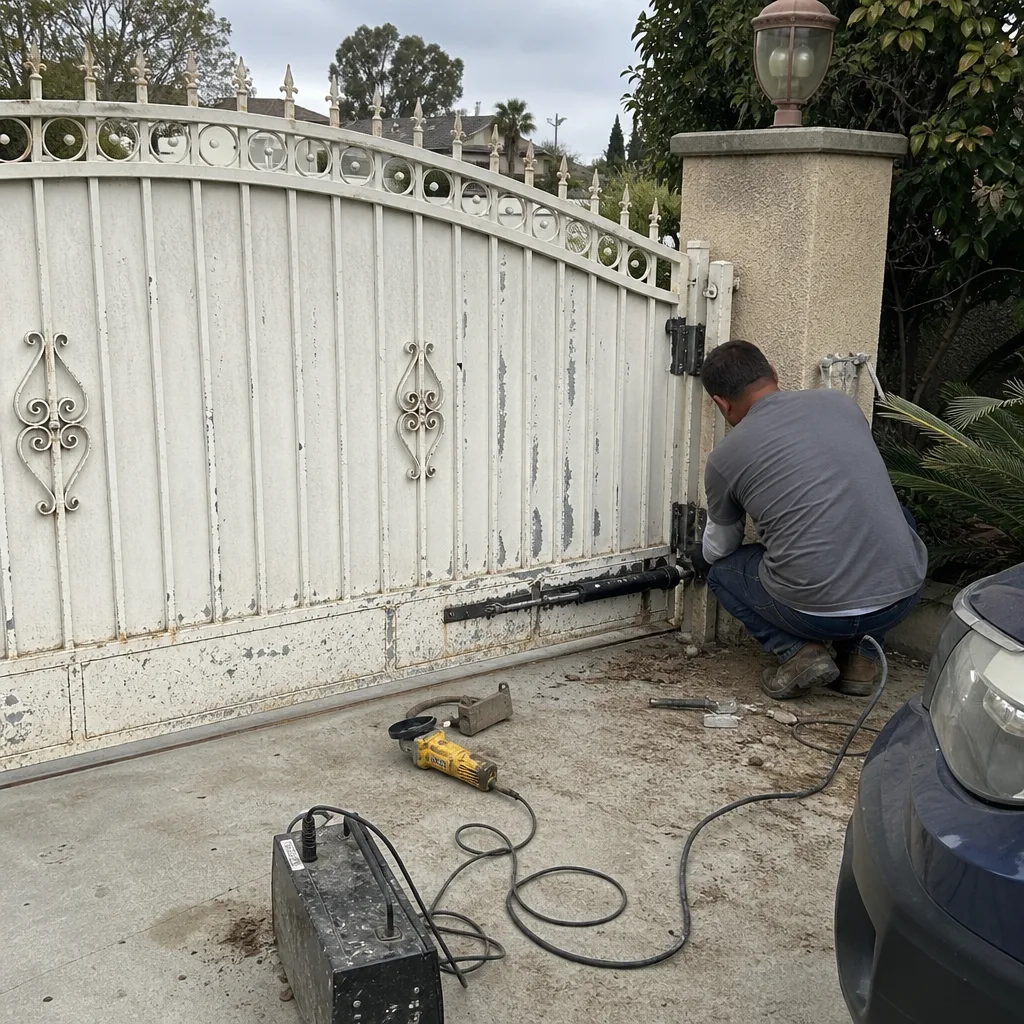 Before
 After
 Before
 After